There are many things you should consider when opening a woodworking shop. Here are some of the main things to consider when setting up your shop: Bench dogs, Cabinets, and Dust collection systems. These are some tips to help you make your shop more productive. Learn how to arrange your workbench in a way that is easy for you. Your bench dog's future is important, so don't forget them.
Workbench placement
When setting up a woodworking shop there are many things to consider. One of them is the workbench. The workbench provides a stable surface for you to work on, and vices that can be used to hold the wood in place as you cut or shape it. It is also important to have ample storage space for all your hand and power tools. Proper storage will make woodworking more enjoyable. Here are some tips for selecting the right workbench.

Dust collection system
There are many different dust collection systems you can use to make your woodworking shop more productive. A good system will make woodworking more enjoyable and safer. Dust collection systems allow you to work faster and more efficiently without having to empty multiple containers. A shop vacuum can be purchased for your woodworking shop to reduce cleaning time.
Cabinets
Consider these important factors when choosing cabinets for your woodworking shop. A place for tools, lumber, and other supplies is essential. Also, you will need space to store tools, lumber and other supplies. Your workshop layout should have enough space between the walls and your bench to allow for easy movement and work. A workshop setup should allow for dust collection. Most power tools, including sanders, produce enormous amounts of airborne dust. Dust collection systems will help you get rid of most of that dust.
Bench dogs
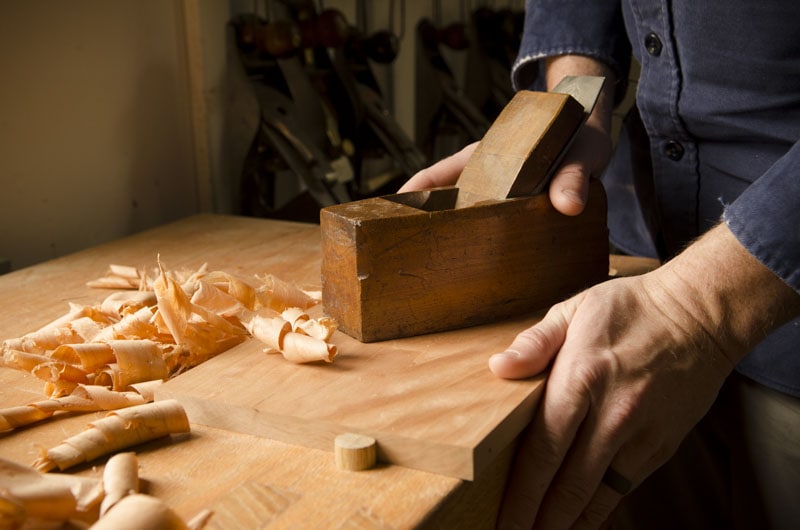
A set bench dog is an essential accessory for any woodworking shop. Although bench dogs can be purchased at a range of prices, you also have the option to make them yourself. These clamps can hold wood, nails and chisels. It is possible to draw a diagram and figure out how many dog holes are needed. A dowel rod should fit into each hole without too much wobble.

Storage units
There may not be many tools that you can store in your woodworking workshop. Once you've started making items, though, you will probably have plenty of inventory. You can keep your inventory in-stock or order more products for customers. It is a smart business decision to rent storage units. Not only will you have enough space to keep your inventory organized, but your home and office will be clutter-free. Apart from renting storage units you can also purchase shelves and organizers for your supplies and completed projects.
FAQ
Are you looking for tips to start a woodworking company?
It can be difficult to start a woodworking shop. If you are passionate about your hobby, it will not be difficult to put in the work. You'll likely enjoy the challenge of owning your business.
Remember that you may encounter unexpected problems when starting a new venture. For instance, you might run out of money unexpectedly. Or maybe you'll find that customers aren't willing to pay as much as you'd hoped. To survive, you'll need to be prepared for such situations.
It is a good idea to create a separate bank account just for your company. You'll know exactly how much money is coming in by setting up a separate bank account.
Is there a way to start my own woodworking company?
It is not easy to start a woodworking business. You will need to adhere to many legal requirements. But, this doesn't mean you need to go through all of the trouble of setting up your business. Many people choose to join existing businesses. You only need to pay membership and tax fees.
Do you have any other information I should know about woodworking and/or the process of making it?
Furniture making is a laborious task. It's easy not to appreciate how hard it is. Finding the right wood is the hardest part. There are so many options for wood, it can be difficult choosing the right one.
The problem with wood is that not all wood properties are the same. Woods can warp, split, or crack over time. You must take these things into consideration before purchasing wood.
What's the difference between a hobbyist and a professional woodworker?
Hobbyists enjoy making things out of wood, whereas professionals focus more on the quality of their work. Hobbyists take great pride in their creations, and share them with family and friends. Professionals spend hours researching design ideas before starting to work on a project. They'll be meticulous about every aspect of their work, from choosing the best materials to finishing it perfectly.
Can I refinish my own furniture?
Yes! There are many different ways to refinish older furniture without the need for professional help. Here are some examples:
Use sandpaper to remove scratches and stains. Next, wipe the surface clean with a damp cloth.
Clear polyurethane varnish should be applied. Let dry completely before moving furniture around.
Acrylic paint can be used to paint furniture.
Instead of using paint, stain is a better choice. The stain will give the furniture a rich look.
Apply shellac wax. You can protect your wood with wax and give it shine.
Where can I purchase woodworking supplies
There are many places that you can find all the information you need. For example, you could visit local hardware stores or look online at websites like Amazon.com.
You can also search flea and garage sales for furniture and other materials that can be reused.
Statistics
- Woodworkers on the lower end of that spectrum, the bottom 10% to be exact, make roughly $24,000 a year, while the top 10% makes $108,000. (zippia.com)
- Most woodworkers agree that lumber moisture needs to be under 10% for building furniture. (woodandshop.com)
- The best-paid 10 percent make $76,000, while the lowest-paid 10 percent make $34,000. (zippia.com)
- The U.S. Bureau of Labor Statistics (BLS) estimates that the number of jobs for woodworkers will decline by 4% between 2019 and 2029. (indeed.com)
External Links
How To
How to stain wooden surfaces
The process of staining wood involves the application of chemicals to the wood's surface, which causes it to change its color. This chemical reaction changes the wood's color from white to brownish. Oak is the most common wood type for staining. However, you can also use other wood types.
There are many options for applying stains to wood surfaces. Some methods involve mixing the stain with a solvent (such as turpentine) and then brushing or spraying the mixture onto the wood. Other methods use a solution of water and dye applied directly to the wood. You can mix stains into varnishes or paints to make them part of your finish coat.
Preparing the surface is the most important step in staining wooden surfaces. To apply the stain, clean the wood completely. Sanding can smoothen out scratches and uneven spots. The next step is to choose the stain type you want. Penetrating stains are different from non-penetrating. Penetrating colors penetrate deeper into wood than those that are non-penetrating. This makes them more suitable for darker colors, such as mahogany. Light colors such as maple work well with non-penetrating stain.
After deciding on the type of stain, you want to apply, prepare your tools. Paintbrushes are great for applying stain because they allow you to evenly spread the liquid across the surface. You should also have some handy rags to wipe up excess stains after you finish painting. If you are planning to mix your stain, ensure you have enough containers for each component.
Once you have prepared your materials, start by cleaning the area where you plan to stain the wood. Use warm water and soap to clean away dirt and dust. You can wipe down the entire furniture using a damp rag with clean water. Take care to remove all debris and dirt, especially if you are planning on staining darker wood.
Apply the stain. Begin at one end and spray or brush the stain on the wood. Slowly and carefully move along the grain of wood, slowly but steadily, until you reach the other end. Be careful not to let the stain drip off the wood's edge. Before proceeding to the next step, let the stain dry thoroughly.
A coat of clear polyurethane sealing agent is applied to protect the paint. Apply three coats of polyurethane sealer. Allow the third coat to dry overnight before sanding the final coat.